eSIM for International Travel: Complete Beginner's Guide - The Ea
A practical, carrier-and-manufacturer-first preflight guide for travelers who want the easiest way to get mobile data abroad. Practical travel phone setup checklist.
Key takeaways
The easiest way to get mobile data abroad for most travelers is to buy and install a travel eSIM before departure, provided your phone is unlocked and eSIM-capable.
Always verify device eSIM support, carrier lock status, and any IMEI registration rules for your destination before you buy a plan.
Activation methods differ (QR code, carrier/app install, automatic provisioning); plan for a Wi‑Fi install, and keep a backup option (home-roaming or local SIM).
Quick direct answer
If your phone is unlocked and supports eSIM, the easiest route is to purchase a travel eSIM and install it before you leave. This removes SIM-swapping, local queues, and most initial connectivity gaps. If your phone is locked or the destination requires IMEI registration or you prefer voice on a local number, a local physical SIM may be better. Home carrier roaming is simplest only when your plan already includes reasonable roaming or you accept its costs.
What is an eSIM and how remote SIM provisioning works
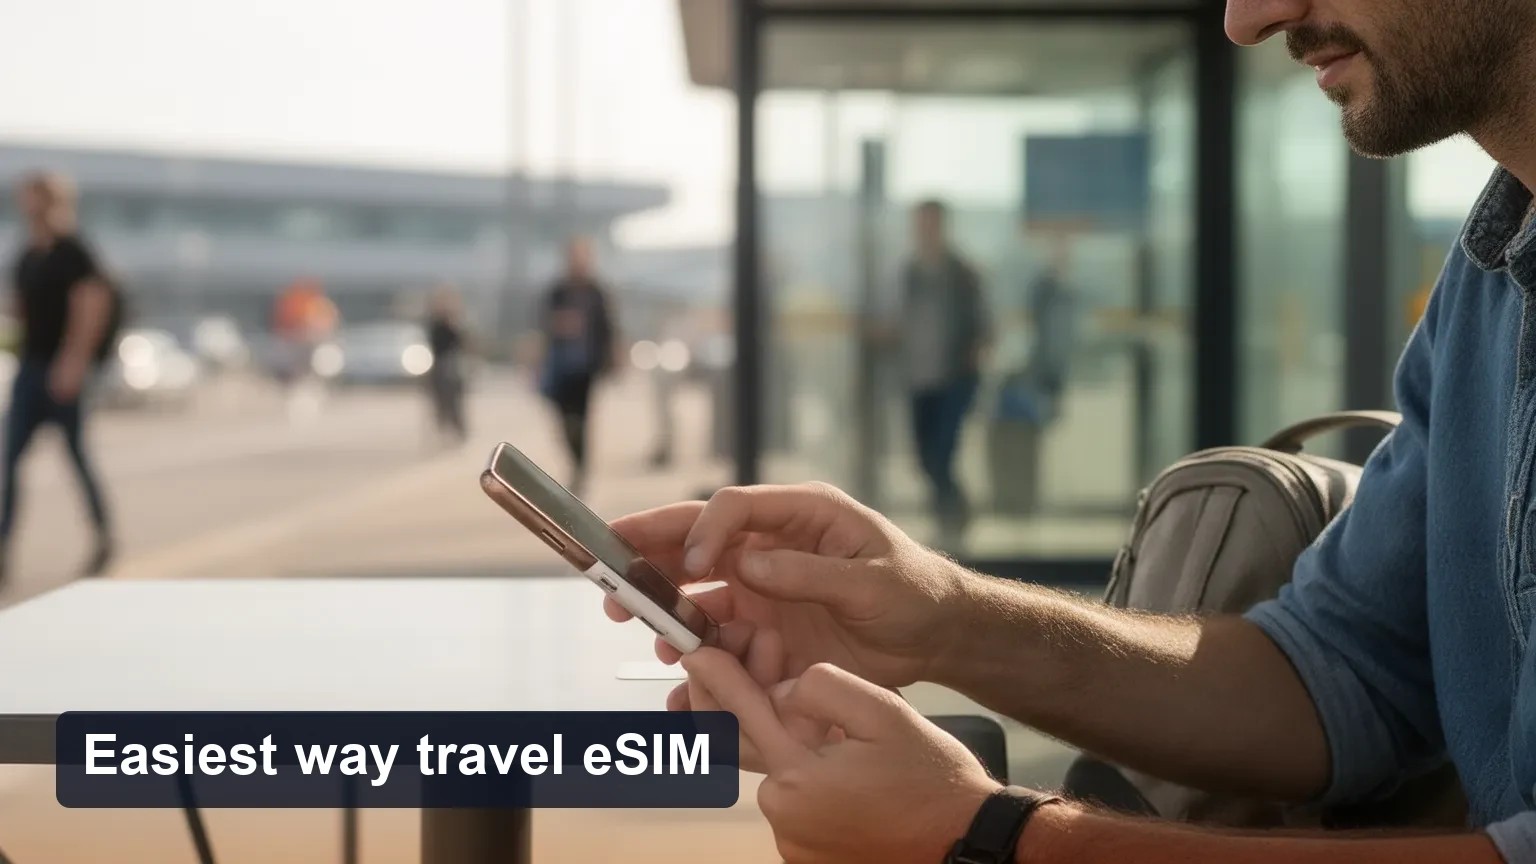
An eSIM is a programmable SIM profile soldered into your device that can store one or more carrier profiles. Remote SIM provisioning (RSP) allows carriers or resellers to push a profile to that embedded SIM over the internet. Practically, you receive either a QR code, a link, or an app invitation that writes a carrier profile to the eSIM area of your phone — then the device treats it similarly to a physical SIM for data.
Facts vs recommendations:
Fact: eSIM stores operator credentials digitally; RSP is the standard method used to install a new carrier profile.
Recommendation: Use RSP when offered before travel so you have data on arrival.
How to check device compatibility, carrier lock, and IMEI rules
1. Confirm eSIM hardware support
Check the exact model number on the manufacturer’s site (not just the product name). Some phone models (especially region-specific variants) differ in eSIM capability.
iPhones (recent models) and many Android phones (Pixel, Samsung, others) commonly support eSIM, but always verify your model.
2. Check carrier lock and plan-level eSIM roaming
If your phone is locked to a carrier, it may block adding third-party eSIMs. Contact your carrier or check their support pages to confirm unlock status and eSIM restrictions.
Some home carriers allow eSIM roaming only on certain plan tiers. Confirm whether your existing plan includes roaming or if you must buy a roaming pass.
3. IMEI registration and country rules
Several countries require foreign devices to be registered by IMEI or limit the time a foreign device can use local networks. Check the destination’s telecom regulator site for current rules.
If a country requires IMEI registration for foreign devices, that requirement generally affects both eSIM and physical SIM use.
What can vary: device support and legal rules vary by manufacturer region, carrier, and country — always verify.
Step-by-step activation methods (QR, carrier app, automatic install)
Three common paths to add a travel eSIM:
1. QR code (most common)
Buy the plan, receive a QR code in email or download page.
On iOS: Settings > Cellular > Add Cellular Plan > scan QR. On Android: Settings > Network & internet > Mobile network > Add carrier (UI wording varies).
Follow on-screen prompts, give the profile a name, and choose which SIM/profile is used for data and which for voice.
2. Carrier or reseller app (app-based provisioning)
Install the carrier or reseller app before departure.
Log in or enter the activation code; the app will push the profile automatically.
3. Automatic/remote provisioning (operator-initiated)
Some carriers can push an eSIM to your device using the device serial/IMEI and a registration flow; you may receive a notification to accept the new profile.
Practical tips for installation
Use a reliable Wi‑Fi network for the install step (the profile download sometimes fails on cellular using another provider).
Rename the eSIM profile to something clear (e.g., "EU eSIM") and set it as data-only if you want to keep your home number as primary voice.
After install, check APN settings only if data doesn’t connect — most modern travel eSIMs auto-configure.
Decision guide: roaming, travel eSIM, or local physical SIM
Use this quick framework to pick the least-friction option:
Short trips (1–3 days) and you already have roaming: Use home carrier roaming if the cost and speed suit you — zero setup.
Short-to-medium trips (3–14 days), multi-country travel, or airport-to-city convenience: Buy a travel eSIM before departure — easiest for instant connectivity across borders.
Long stays (weeks or months), heavy local calling/data needs, or best local rates: Buy a local physical SIM on arrival (may require ID or IMEI registration in some countries).
If your phone is carrier-locked, not eSIM-capable, or destination blocks foreign devices via IMEI check: local physical SIM may be the only option.
Considerations that change the choice
Cost: eSIM plans are often competitive for short trips but local physical SIMs usually win for long-term heavy use.
Coverage: check the plan’s listed partner networks in the country.
Voice vs data: Many travel eSIMs are data-only. If you need local voice/SMS, a local SIM may be simpler.
Worked example: 10-day trip through Spain and France
1. Check phone: unlocked, supports eSIM, iOS 15+/Android recent build.
2. Verify no IMEI registration needed for short tourist stays.
3. Buy an EU travel eSIM that lists Spain and France.
4. Install via QR on Wi‑Fi before departure, name it "EU eSIM", set it as data. Keep home SIM (physical) as primary for calls.
5. On arrival, enable the eSIM for data, disable data roaming on the home SIM if you want to avoid accidental roaming charges.
6. If data fails, toggle airplane mode, restart, check APN, and contact the eSIM provider.
Troubleshooting and common failure modes
eSIM QR won’t scan or profile fails to install: Try manual code entry, use another Wi‑Fi, or install via the provider’s app.
No service after install: Check the correct profile is set for data, enable roaming for that profile, restart the phone, and verify APN.
Dual‑SIM conflicts: Some phones limit active eSIM+physical SIM bands; check which profile handles data and which handles voice.
Carrier blocks: If the home carrier blocks third-party eSIMs, you may need to unlock the phone or use a local SIM.
Troubleshooting sequence (practical):
1. Reboot phone.
2. Confirm the eSIM profile is installed and selected for mobile data.
3. Toggle airplane mode on/off.
4. Check APN — compare with provider’s instructions.
5. If still failing, remove and reinstall the eSIM profile or try the provider’s app.
6. Contact eSIM provider support with device model and IMEI.
Security best practices
Buy eSIM plans only from reputable carriers or trusted resellers.
Avoid scanning random QR codes in public spaces; use the seller’s secure site or app.
Backup important data before making major network changes.
Use a device passcode and enable remote wipe; treat eSIM profiles like sensitive credentials.
Consider enabling a SIM PIN (if your OS supports it for eSIM profiles) to prevent unauthorized SIM profile changes.
Preflight checklist (carrier-and-manufacturer-first, least-friction path)
1. Find your exact device model and confirm eSIM support on the manufacturer site.
2. Check carrier lock: contact home carrier or look in Settings for lock status.
3. Verify whether your home plan includes roaming and what it costs.
4. Check destination IMEI/registration rules on the country telecom regulator site.
5. If all clear, buy a travel eSIM that explicitly lists your destination country(ies) and activation method (QR/app).
6. Install the eSIM on Wi‑Fi before departure and verify data connection.
7. Rename the profile, choose data-only or default data, and confirm APN settings.
8. Keep a backup option: screenshot the eSIM QR (securely stored), have the reseller app, or plan to buy a local SIM.
FAQ
Q: Can I install and activate an eSIM before departure?
A: Yes — most travel eSIMs allow pre-departure installation via QR code or app. You may need Wi‑Fi to download the profile; activation can be immediate or set to occur on first network connection depending on the provider.
Q: Will my phone be compatible with a travel eSIM at my destination?
A: Compatibility depends on your exact model, carrier lock status, and local telecom rules. Confirm your model supports eSIM, request an unlock if necessary, and check destination IMEI rules.
Q: Should I use my home carrier's roaming, a travel eSIM, or a local SIM?
A: Use the decision guide above: roaming for convenience and short stays if costs are acceptable; travel eSIM for short-to-medium multi-country travel; local SIM for long stays or heavy local usage.
Final actionable checklist (one-page summary)
[ ] Confirm device model supports eSIM.
[ ] Confirm phone is unlocked (or plan for local SIM).
[ ] Check home carrier roaming costs and plan eligibility.
[ ] Verify destination IMEI/registration rules.
[ ] Buy a travel eSIM that explicitly covers your destination(s) and supports your activation method.
[ ] Install on Wi‑Fi before travel and test data.
[ ] Rename profile, set data preferences, and keep provider support contact.
Esibyte note: If you want a quick place to compare travel eSIM options from multiple carriers and resellers, platforms like Esibyte list plans and activation details — use vendor pages and carrier support pages to verify critical compatibility facts before purchase.
Sources and next steps
Check your phone maker’s support pages and your carrier’s roaming/eSIM pages for model-specific instructions.
Look up the telecom regulator page for your destination to confirm any IMEI or registration requirements.
If you want, tell me your phone model and destination and I can walk through the compatibility checks and suggest which activation path to try first.
通过这些 eSIM 目的地规划你的行程
发现与本文主题相关的目的地套餐,并在出行前比较不同选项。
即刻开通全球 eSIM 流量套餐,无需支付漫游费 几分钟即可激活,使用灵活的预付费套餐随时在线